
Four Seasons of Sensory Bottles
Sensory bottles are clear containers filled with various materials to create a visually fascinating and engaging learning experience to calm and focus the senses.
Classrooms, daycares, and homes have found the benefit of providing sensory bottles to children, as they facilitate a non-messy sensory experience. These bottles create an avenue for children who have difficulty processing tactile (touch) input to increase their sensory input in a different way. This is so important, as sensory input helps us to make sense of our world.
A fun idea is to create a set of four sensory bottles. . . one for each season of the year. I live in Minnesota, which has four seasons. You could create them to suit the seasons where you live too!


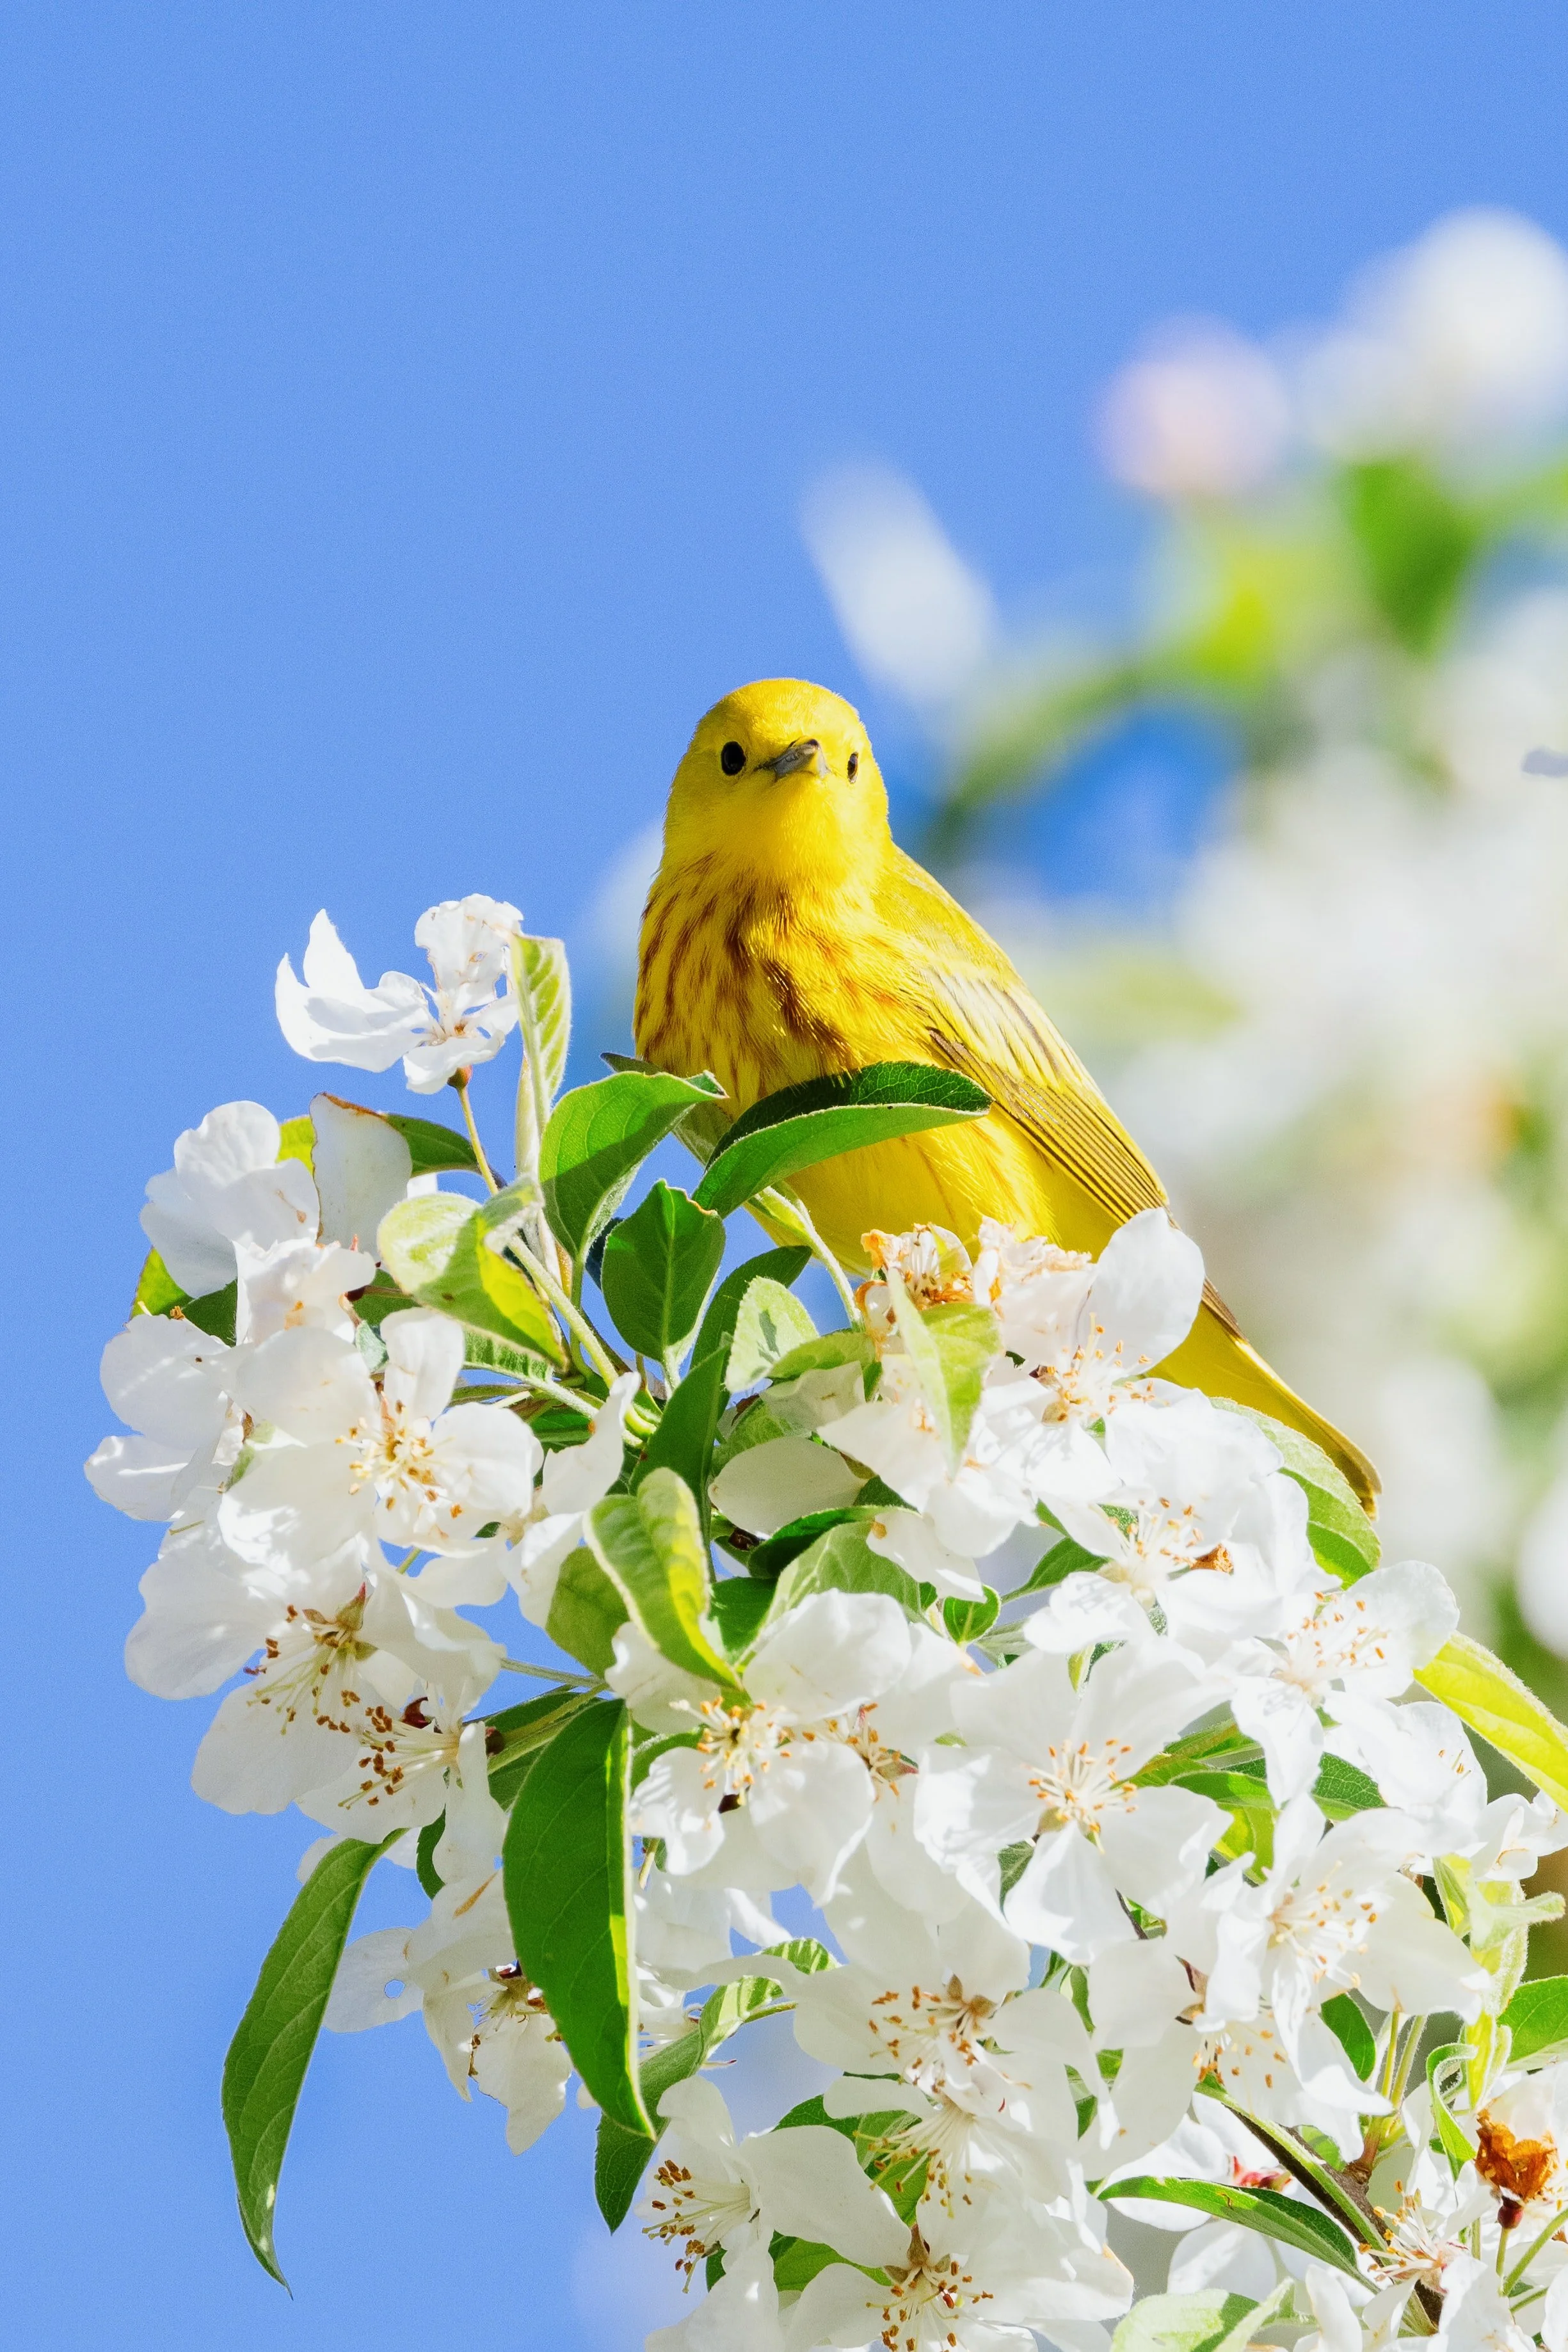

SPRING IS…
New life
Trees budding
Birds
Seedlings spring out of the ground
Hibernating animals wake up
My base color will be green


SUMMER IS…
Hot, sunny days
Swimming in a lake or pool
Brightly colored flowers
Crops growing in the fields
My base color will be yellow


AUTUMN IS…
Cool evenings by a bonfire
Fiery colored leaves falling from the trees
Hiking
Pumpkins
My base color will be orange


WINTER IS…
Sparkly snow
Sledding and skiing
Cozy sweaters
Warm coffee and tea
My base color will be blue
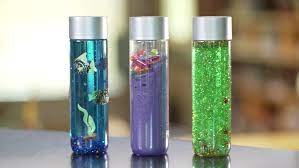
How to make a sensory bottle:
1. Collect the items you will need:
Plastic bottles that can be sealed completely, such as VOSS bottles, or smaller plastic spice bottles.
Glue (hot glue gun works well)
Glitter
Water beads (make sure to soak them in a bowl of water before adding them to your sensory bottle)
Sequins
Legos or other small toys
Plastic toy leaves, snowflakes, flowers. . .be creative!
Food coloring
Vegetable Oil
2. Fill your bottle halfway with water, add food coloring, put on the lid (tight), and shake to evenly distribute the food coloring. Make sure not to add too much food coloring. . .you want to be able to see the items floating in the bottle too!
3. Take the lid off and add all the items to your bottle. Next, fill the remainder of the bottle with oil.
4. Glue the lid on the bottle so it is secure.
5. Enjoy your sensory bottles!
Nature images from unsplash.com
Sensory bottle image from: https///www.understood.org/en/articles/how-to-make-a-sensory-bottle