
Two Variations of DIY Slime: Textured & Clear

Playing and exploring with slime is fun and offers many benefits to kiddos! Making your own slime provides the opportunity to involve your kids. It allows them to participate and see their effort come to life from start to finish facilitating teamwork, confidence, capability, and reward.
Playing with slime is a multi-sensory activity providing tactile, proprioceptive, and visual input. It promotes social interaction, exploration, eye-hand coordination, use of both hands, and fine motor skills, such as hand muscle strength, grasp, manipulation, pinching, and opposition of the thumb (touching each finger to the thumb).
Below are two variations of DIY slime! The textured slime is more messy and sticky. If your child dislikes stickiness, especially on their hands, I recommend starting with the clear slime. Both variations require refrigeration prior to playtime. Allow 5 minutes for them to cool down before the last steps or your hands will freeze. I can attest to this! However, this provides a great opportunity for your child to explore different temperatures.
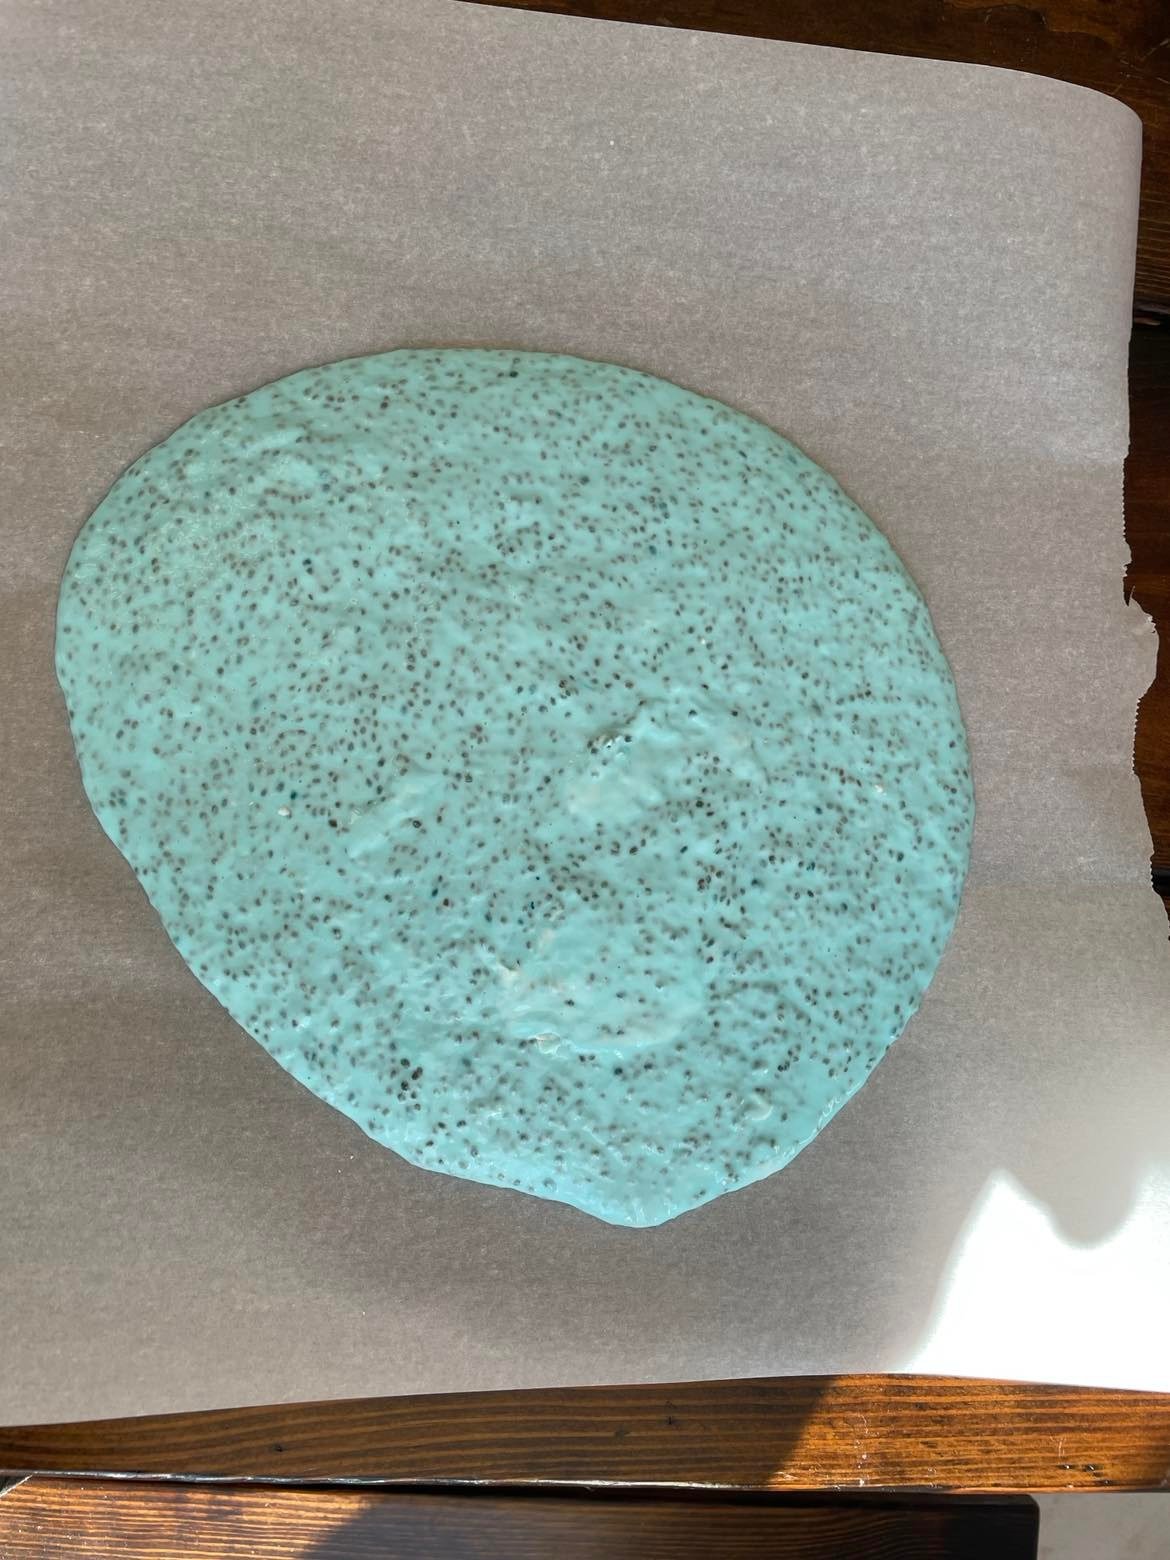
Textured Slime
What you need:
Medium-sized bowl
¼ cup chia seeds
1 ¾ cup of water
Food coloring
Ceran-wrap or cover for the bowl
3-4 cups corn starch

Prep Time: 10 minutes + Overnight (~8hr.)
Directions:
1. Mix the chia seeds, water, and food coloring together


2. Cover and refrigerate overnight
3. Uncover and add the corn starch a little at a time
4. Mix and continue to add corn starch until desired consistency


Store the slime in the refrigerator. Each time you take it out to play add some water to reactivate the slime. The chia seeds provide a textured feeling increasing tactile input! And don’t worry if your child licks or eats it as it is taste-safe!
Tips:
The slime will be very sticky but lessens as you add in more cornstarch.
The slime becomes more dense and resistive with more cornstarch. Encourage your child to mix in the cornstarch to work on hand and finger strength.
This variation is messier than the clear slime. To protect your table surface, I recommend taping down parchment paper or wax paper. You could also play with it in a large tub or on a baking sheet.
Clear Slime

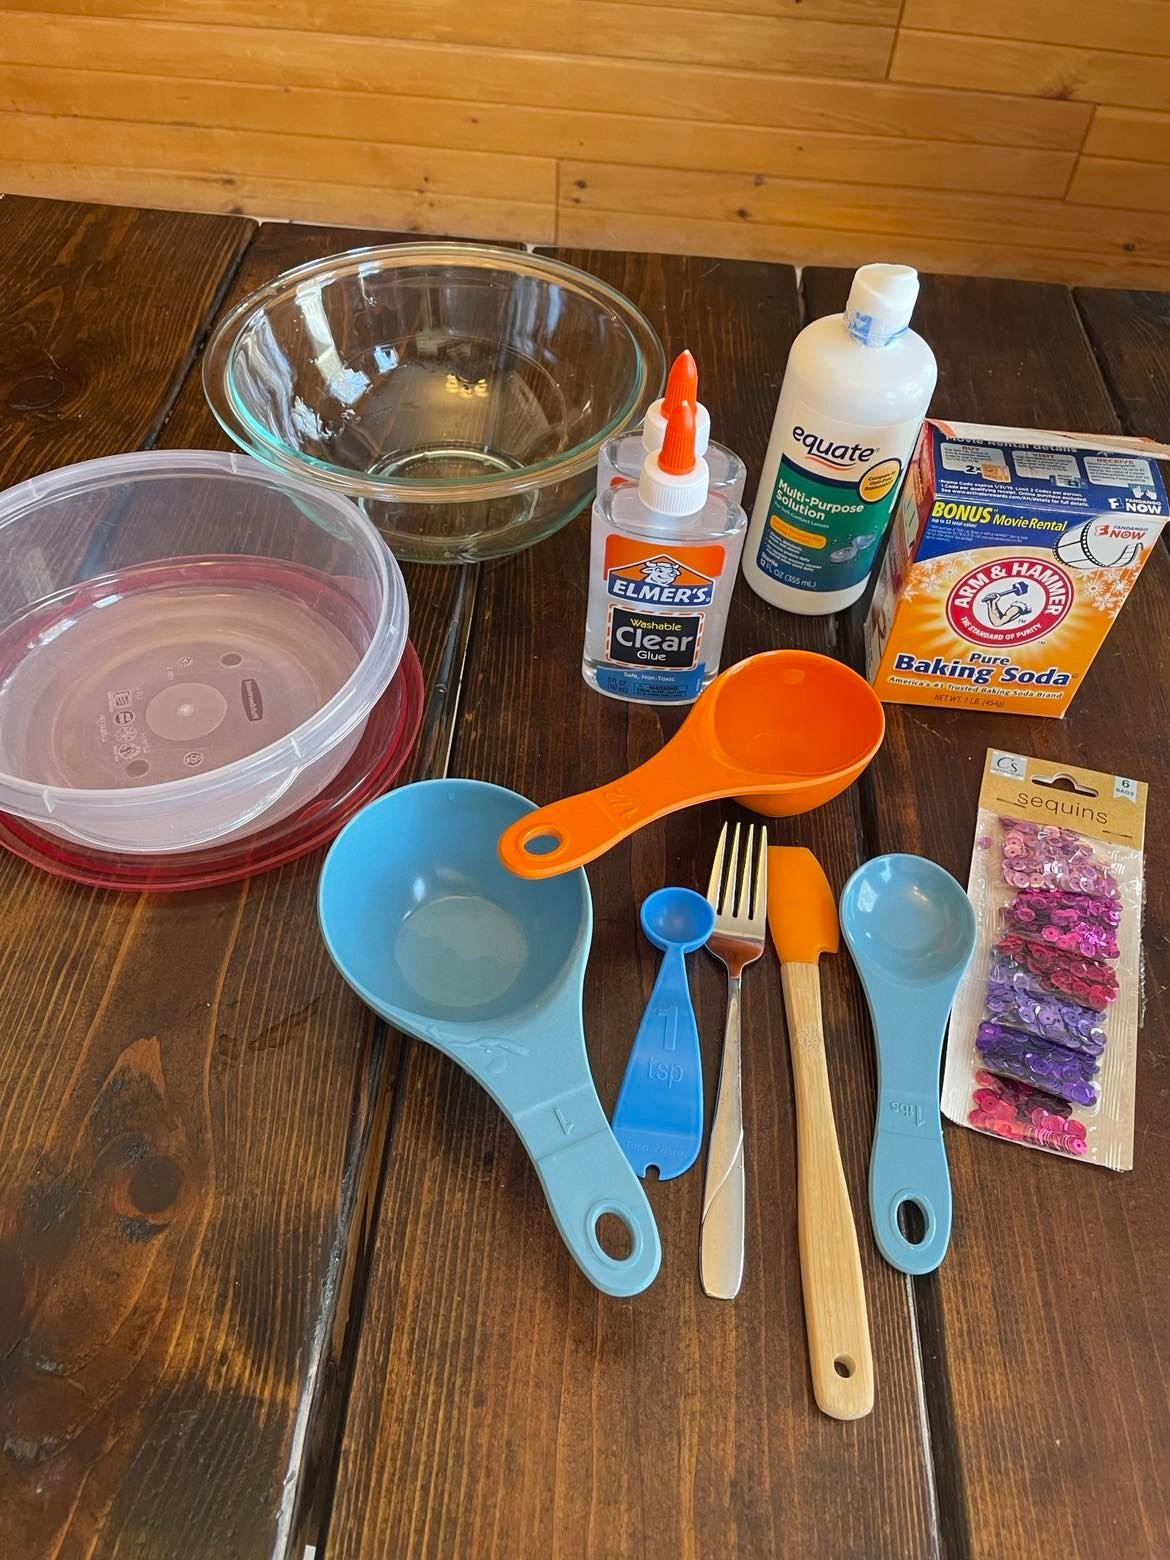
What you need:
1 cup of clear glue
½ cup of warm water
1 tsp baking soda
4-5 tbsp of contact lens solution with boric acid
Air tight container
Medium-sized bowl
Optional: sequence
Prep Time: 8 hours + 10 minutes
Directions:
Mix the baking soda into the water until it is dissolved in the container. Set aside to cool.
Add the glue to the bowl.


3. Add the water solution to the bowl with glue once it is cooled.
4. Mix slowly to avoid air bubbles.
5. Add 1 tbsp of contact solution at a time and mix between each one.
6. Once slime bowls away from the edge of the bowl, put some contact solution on your hands.
7. Mend the slime until it is not super sticky (it will be slightly sticky).


8. Put the slime in an air-tight container and let it sit for 24-48 hours.
9. Air bubbles will rise and disappear. Once the slime is super clear, add optional sequence.
Try writing letters or numbers in the slime! You can even spread out sequence on the table and have your child use the slime to pick them up. This is a great way to integrate practicing handwriting and improving fine motor strength and manipulation.
*Recommend using a smaller container as I did for there to be no air when I close the lid. Since there was air in the container, the bubbles didn’t disappear.
Cleaning hack for when slime gets on clothing: sock clothing in warm water and white vinegar, let it soak for 15 minutes then rinse it out.
Have fun making and playing!
Tag us on social media @senseational_spaces if you try this activity!